In 2017 and upcoming years, each reliable and well-known web hosting companies provide you a 1-click installation service in their control panels. By using this tab, you can easily install WordPress in your domain. There is no easier way invented to do this work.
Step by step guide to install WordPress
You can follow below instructions to install WordPress. This process nearly the same all hosting companies.
1. Log in to your own hosting account
You should enter your username and password in required areas. After that, click login to reach your control panel interface.
2. Find “WordPress” in your control panel
You should find an icon like as above picture. Click “WordPress”.
3. Select domain name where you want to install your website
Click “Install Now” button.
Enter your domain name where you want to install your website.
4. Determine site settings
Identify a site name and site description is very important for your user. They will look that areas to understand what you are promoting them. Fill necessary fields to describe your site purpose.
5. Specify your admin account
Before the finish this process, you should choose your admin username, password, and email. You can whatever you want. But please be careful about your password. It should be strong and consists numbers, lowercase, uppercase and punctuation marks.
6. Finalizing WordPress installation
Choose your WordPress interface language firstly. Finally, you can finish your installation process by clicking “Install”.
The whole process is that. You are done. WordPress is installed and ready to use. You can begin creating your own content easily.
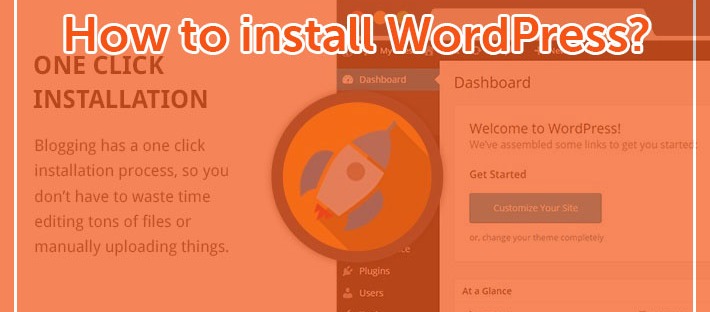
MANAGING ADMIN PANEL
1. Log in to your Admin Panel
WordPress is installed and ready to use. You can log in to admin panel by typing http://www.yourdomain.com/wp-admin or http://www.yourdomain.com/wp-login.
2. How to Install WordPress Theme?
After the logged in, you can install a lot of great free WordPress themes.
Firstly, click “Appearance” tab and choose “Themes”. You are now in the Themes section. Click “Add New”.
Secondly, there are a lot of free themes on this page. You can easily find “Latest” themes and “Popular” themes at this stage by clicking relative tabs. Choose your theme and click “Install”.
Go back “Themes” section. Find your latest theme and click “Activate”. Congratulations, you installed your new theme. You are ready to create your content.
3. How can I add new content to my Web Page?
After the installing your theme, you can start to create your own content. Follow the below steps to do this.
In the “Dashboard”, find Pages tab and click “Add New”.
Write “Page Tıtle” in the most top line and write your content in “Text Editor” area.
Click “Publish”.
After the clicking the Publish button, your article is published on your site. Everyone can read it now. It is just that easy to create your own content with WordPress. Cool huh?
If you need any help to setup your website, check our help page.
You might be interested in reading:
